Senior Mobile Developer - Vale

Contact me via @cwtututu.


  • Home

  • Categories

  • Archives

  • Tags

  • About

Vapor4.0Xcode传参

Posted on Mar 13 2020   |   In Vapor4.0   |   0 Comments

太难了。

每一个项目都要重新下载Swift Package Dependencies,并不会把相同的库像Nodejs那样全局地装在本地。

命令行运行和Xcode运行,他们需要下载的Swift Package Dependencies在不同的位置。我本来在Xcode配置环境变量,想用命令行验证一下,结果,命令行也要重新下载一遍这些包。黑脸…

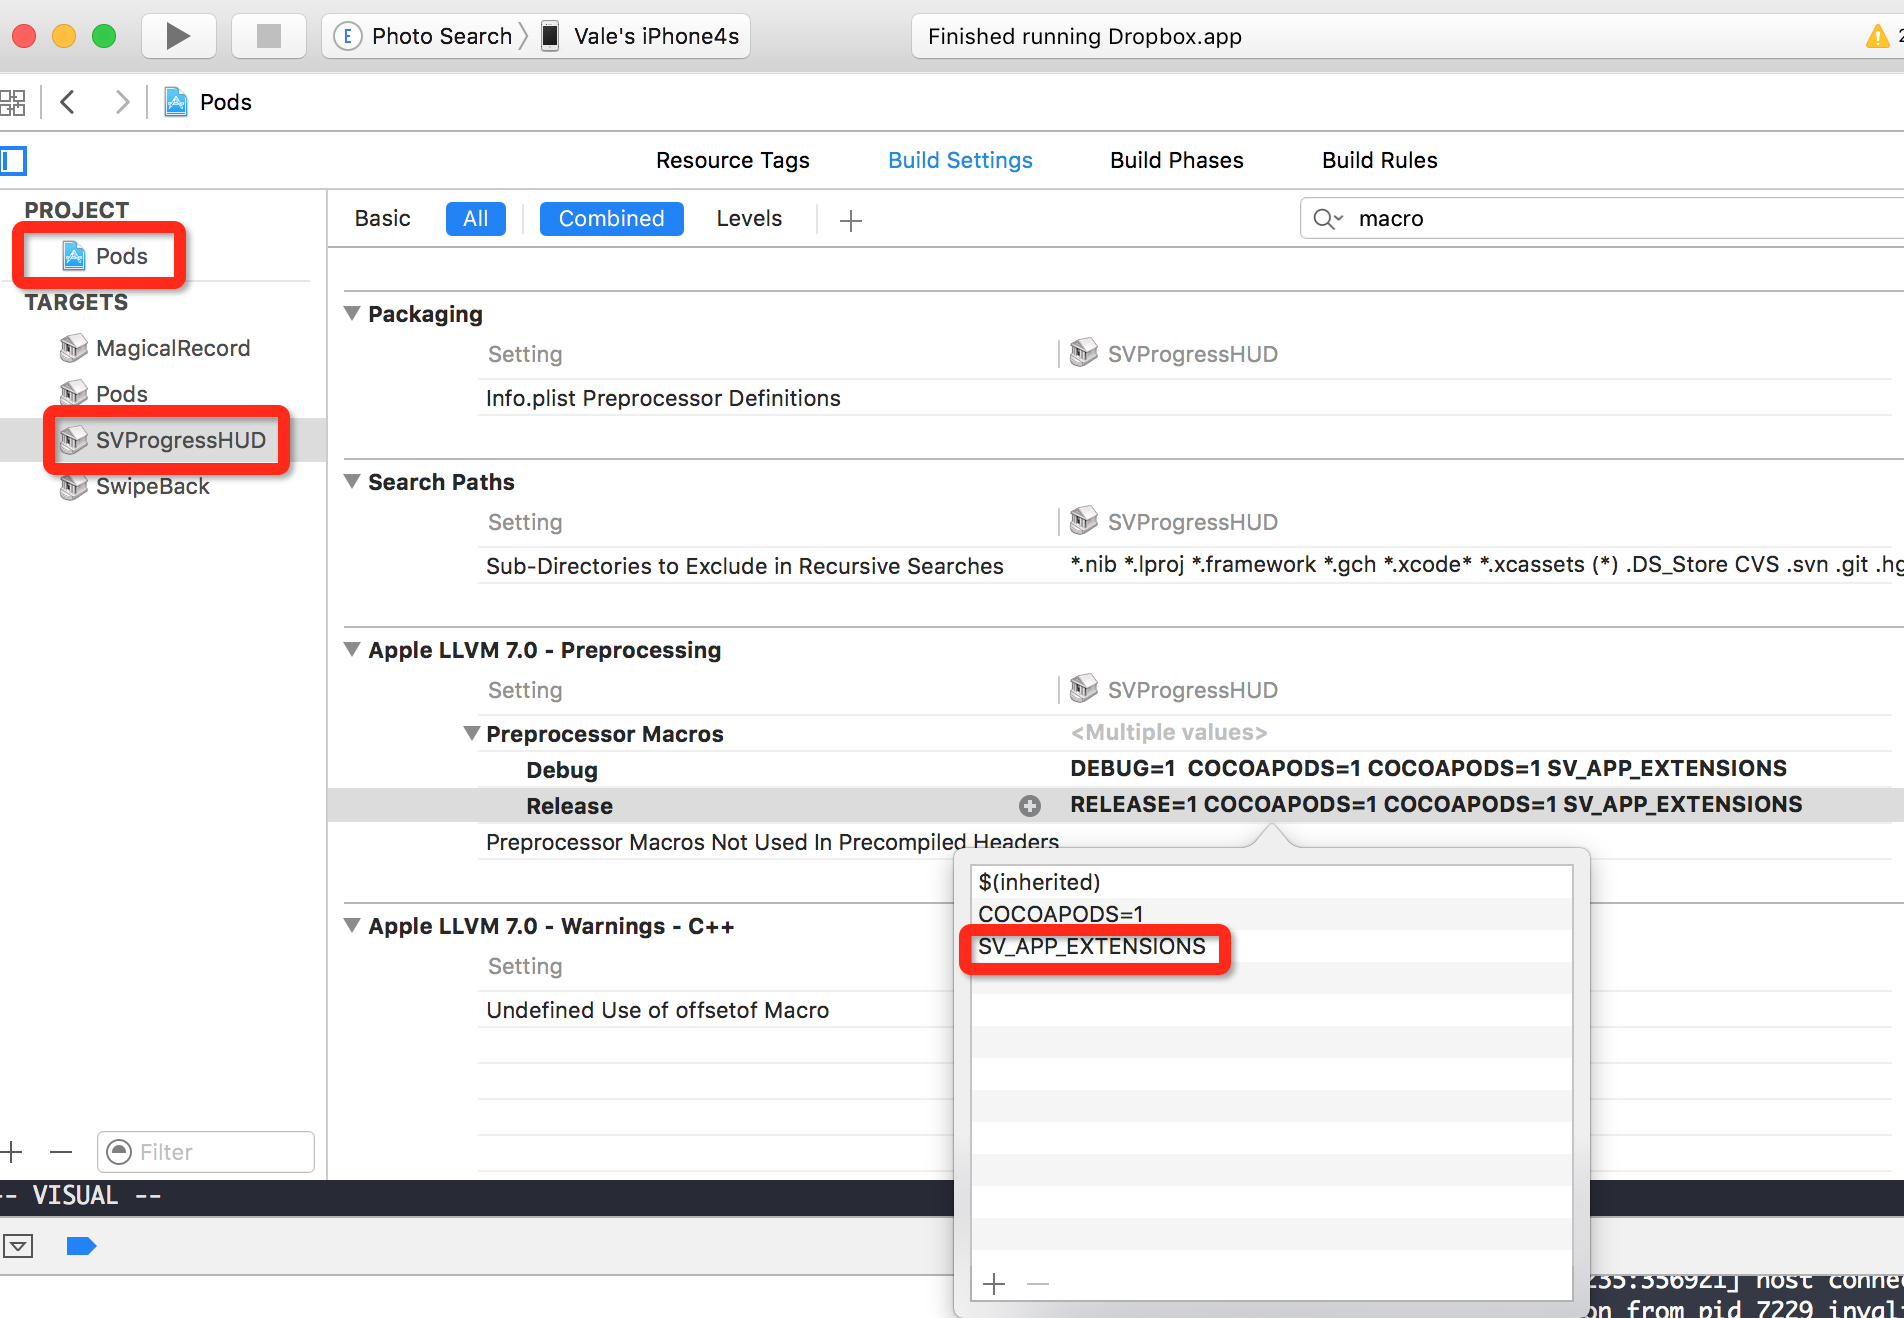
记录一下Xcode中环境配置的位置吧。上边可以配置环境。下边可以配置数据库的信息。

大神说命令行配置应该这样 EXPORT DATABASE_HOST=vapor; vapor-beta run, 因为命令行下包还没下下来,没有验证。

Vapor4.0概念

Posted on Mar 13 2020   |   In Vapor4.0   |   0 Comments

最近打算学习一下后端的知识,心想怎样Javascript是绕不开的,就学Nodejs吧。学习了一个星期的Javascript和Nodejs,最后读了《深入浅出Node.js》有关Nodejs的历史,转身就跑去学Vapor了。

平台的发展都需要一定的时间,也有人坚定的从一开始走过来。Swift用起来那么顺,又经过几年的沉淀。现在是时候认真搞一搞了。

现在的想法是先建个博客练练手,后端用Vapor4.0,前端用Vue.js。两个技术一起学。将来可能把这个博客迁移过去。

Vapor4.0的文档还不够完善,大佬们建议从vapor / api-template这里搞起,记得分支选4。

对Vapor4要有大概的了解才能继续下去。看到Nodejs主要是通过EventLoop来接收请求的。就问问大佬们Vapor是怎么个机制。热心的大佬回复说Vapor底层用的SwiftNIO,其底层的逻辑和Nodejs差不多,SwiftNIO的这个机制叫做EventLoopFuture。网上查了些资料, 摘录如下:

The Event Loop

Efficiency is an important goal when writing server-side code. The more efficient your code, the more users it can help concurrently. Where an unoptimized app can only help ten to a hundred users at a time, highly optimized apps are able to help a hundred-thousand concurrent users on the same hardware.

The main reason for this difference is architectural. A poorly optimized app will be idle most of the time, whereas a highly optimized app will try to spend its time cleverly and actively. The brains behind this architecture in server-side Swift is provided by SwiftNIO, Apple’s cross-platform event-driven networking framework, by a type called EventLoop.

EventLoop is, in its essence, a while loop that keeps looking to do work when an external factor, such as a user uploading a file, has made progress.

If one thread writes to a variable, and another thread tries to read it or write to it at the same time, a race condition occurs, which will crash your app. One method you can use to prevent race conditions from occurring is using locks for each of these variables. You’ll lock this lock before accessing a variable and unlock is after accessing it is completed, so any future accesses to the resource are prevented until you’ll unlock the lock. The main downside of this approach is its complexity and impact on performance.

Using a single thread to access this information is another way to tackle the issue of race conditions. Doing this means all read and write operations are done by this thread. One example of this is the database you’ll find in the sample project. Using this method requires you to give the read/write thread a way to return the result to the event loop that requested it.

If you respond to a request from a different EventLoop, SwiftNIO will crash the app to prevent undefined behaviour from causing trouble.

Futures and Promises

Future is a type used to describe information that does not exist yet, but will exist in the future. Writing asynchronous code with futures means directing the futures to respond to the successful results or to the failures. You can create a future with a predefined result: either success or failure. However, if the result is not known yet, you need to create a Promise.

These promises and futures need to be created from the EventLoop since the future type will always return to the event loop it originated from. A future can only hold one result at a time, at which point it is considered completed. Completion can be either successful or unsuccessful, thus failed futures are also considered completed. Finally, if a promise is creates, it must be completed.

现在就开始建立自己的新项目吧。

Android-三张图搞定Touch事件传递机制

Posted on Nov 13 2017   |   In Android   |   0 Comments

转自: Android-三张图搞定Touch事件传递机制

之前看了很多关于Android事件Touch传递机制的文章,感觉还是老外讲的最清楚。原版PDF地址:Mastering the Android Touch System,github的demo地址:demo

上图之前先讲下Android事件的基础知识:

  1. 所有的Touch事件都封装到MotionEvent里面
  2. 事件处理包括三种情况,分别为:传递—-dispatchTouchEvent()函数、拦截——onInterceptTouchEvent()函数、消费—-onTouchEvent()函数和OnTouchListener
  3. 事件类型分为ACTION_DOWN, ACTION_UP, ACTION_MOVE, ACTION_POINTER_DOWN, ACTION_POINTER_UP, ACTION_CANCEL等,每个事件都是以ACTION_DOWN开始ACTION_UP结束

Android事件传递流程:

  1. 事件都是从Activity.dispatchTouchEvent()开始传递

  2. 事件由父View传递给子View,ViewGroup可以通过onInterceptTouchEvent()方法对事件拦截,停止其向子view传递

  3. 如果事件从上往下传递过程中一直没有被停止,且最底层子View没有消费事件,事件会反向往上传递,这时父View(ViewGroup)可以进行消费,如果还是没有被消费的话,最后会到Activity的onTouchEvent()函数。

  4. 如果View没有对ACTION_DOWN进行消费,之后的其他事件不会传递过来,也就是说ACTION_DOWN必须返回true,之后的事件才会传递进来

  5. OnTouchListener优先于onTouchEvent()对事件进行消费


    效果图如下:

    1. View不处理事件流程图(View没有消费事件)

    2. View处理事件

    3. 事件拦截

Two Tips When You Setup Firebase for Remote Notification

Posted on Apr 8 2017   |   In Android   |   0 Comments

I finished my first android app written by Kotlin language recently. Today I want to record what I learned when I setup Firebase for remote notification.

There are two cases to disucuss.

1. When the app is in foreground.

This case is easier, when the push is coming, the callback method onMessageReceived in the class which extends FirebaseMessagingService will be invoked.

2. When the app is in the background or is killed.

Under this case, the notification will show in the system tray first. when we click the notification, the app launcher will be open by default. We can get the push information from its intent.

But if you don’t want the default action, for example, in my app, the launcher is a Splash activity, I don’t want to deal with push information in the activity, how we can do?

Now, let us see how to send push to devices.

1
2
3
4
5
6
7
8
9
10
11
12
13
14
15
16
17
18
19
20
21
22
23
Method - POST

EndPoint - https://fcm.googleapis.com/fcm/send

Header -

Authorization:key=appkey

Content-Type:application/json

Body -

{"notification": {
"title": "Your Title",
"text": "Your Text",
"body": "Your body",
"click_action" : "PUSH"
},
"data": {
"url": "xxx"
},
"to" : "pushToken"
}

The key-value click_action is the key point. I want MainActivity to initialize when the push is coming, so I config MainActivity in AndroidManifest.xml file

1
2
3
4
5
6
7
8
<activity    android:name=".activities.MainActivity"    android:configChanges="keyboardHidden|orientation"    
android:launchMode="singleInstance"
android:screenOrientation="portrait">
<intent-filter>
<action android:name="PUSH" />
<category android:name="android.intent.category.DEFAULT" />
</intent-filter>
</activity>

Note the action’s name in intent-filter is same with the value of the key click_action.

Further more, if the MainActivity is in the background, I don’t want to initilize a new one, so I set android:launchMode="singleInstance" . This way, when the push is coming out, we can get its intent from the following callback method:

1
2
3
4
5
override fun onNewIntent(intent: Intent?) {
if (intent != null && intent.action == "PUSH" && intent.getStringExtra("url") != null) {
requestPushContent(intent.getStringExtra("url"))
}
}

Done!

RxSwift Application Architectures

Posted on Nov 2 2016   |   In RxSwift   |   0 Comments
  1. View Controllers
  2. View Models
  3. Models
  4. Backend services
  5. AppCoordinator (Singleton)

More references:

https://slack-files.com/T051G5Y6D-F0HABHKDK-8e9141e191

MVVM Philosophy

Posted on Oct 31 2016   |   In MVVM   |   0 Comments

Philosophy

  • View doesn’t have control flow. View cannot modify the data. View only knows how to map the data.

    Bad

    1
    2
    3
    viewModel.title
    .map { $0 + "!" } // Bad: View should not modify the data
    .bindTo(self.titleLabel)

    Good

    1
    2
    viewModel.title
    .bindTo(self.titleLabel)
  • View doesn’t know what ViewModel does. View can only communicate to ViewModel about what View did.

    Bad

    1
    viewModel.login() // Bad: View should not know what ViewModel does (login)

    Good

    1
    2
    3
    4
    5
    self.loginButton.rx_tap
    .bindTo(viewModel.loginButtonDidTap) // "Hey I clicked the login button"

    self.usernameInput.rx_controlEvent(.EditingDidEndOnExit)
    .bindTo(viewModel.usernameInputDidReturn) // "Hey I tapped the return on username input"
  • Model is hidden by ViewModel. ViewModel only exposes the minimum data so that View can render.

    Bad

    1
    2
    3
    struct ProductViewModel {
    let product: Driver<Product> // Bad: ViewModel should hide Model
    }

    Good

    1
    2
    3
    4
    5
    6
    struct ProductViewModel {
    let productName: Driver<String>
    let formattedPrice: Driver<String>
    let formattedOriginalPrice: Driver<String>
    let originalPriceHidden: Driver<Bool>
    }

[译]两分钟介绍Rx

Posted on Oct 21 2016   |   In Rx   |   0 Comments

原文在这里, 本文用Typora编辑

你可能已经看了我写的这篇文章。太长了?好吧。

Rx并不是那么难,你自己也可以创造它。继续阅读吧。

你知道数组吗?你当然知道。这里有一个:

[14, 9, 5, 2, 10, 13, 4]

如果我告诉你这是个不可变的数组,你需要拿走所有的奇数,你会怎么做呢?这是一个流行的方式:

[14, 9, 5, 2, 10, 13, 4]

filter( (x) -> x % 2 == 0 )

[ 14, 2, 10, 4 ]

到现在为止,没什么新东西。这很普遍,它来自于函数式编程的范例。

…

现在想象一下鼠标位置的点击事件。如果你把它们画在一个时间线上,它们看起来是这样的:

朋友,这是一个事件流,我们亲切的叫它 Observable。

这个点击事件来自于鼠标,因此整个的事件流是不可变的,在这种场景下,当它被定义之后,你不能增加或移除它。

但是如果我只对x < 250 的点击事件感兴趣呢?那我们能不能也创建一个新的事件流就像我们过滤数组那样呢?

filter( (event) -> event.x < 250 )

那么不变的数组和Observables 有什么不同吗?并不多。你可以对两者使用map, filter, reduct。对于Observables 你还可以使用merge, delay, concat, buffer, distinct , first, last, zip, startWith, widnow, takeUntil, skip, scan, sample, amb, join, flatMap.

把它想象成一个异步的不可变的数组。

Rx在underscore.js中是为事件服务的。但是等一等,什么是事件?难道你app中的大部分东西不都是事件吗?

事件“程序开始”,事件“API响应接收”,事件“键盘按键被点击”,事件“设备休眠”,等等。

虚拟的任何东西都能看作是事件流。它只是和它的构成与合适的组合有关。

嗯,这就是两分钟Rx。

What’s the difference between an array and events?

— Erik Meijer

[Android]导出app中的数据库

Posted on Aug 15 2016   |   In Android   |   0 Comments

最近做iOS项目,需要把Android端的数据库导出来比较一下,这个还挺麻烦。

如果用模拟器的话,可以直接用DDMS查看数据库的路径,然后导出,这样最方便。但我这个项目需要用到Google的服务, 模拟器上无法运行。

如果是真机,在不越狱的情况下是无法查看数据库路径的,没办法,只能用代码把数据库拷贝到SDCard上,然后用File Manager这个app把数据库文件导出来。

用代码拷贝文件到SDCard上,需要在AndroidManifest.xml文件中加入如下权限:

1
2
<uses-permission android:name="android.permission.MOUNT_UNMOUNT_FILESYSTEMS"/>
<uses-permission android:name="android.permission.WRITE_EXTERNAL_STORAGE" />

如果你的真机是6.0以上的系统,还需要在程序中向用户请求权限:

1
2
3
4
5
6
7
8
9
10
11
12
13
14
15
16
17
18
19
20
21
22
23
24
25
26
27
28
29
30
31
32
33
34
35
36
37
38
39
40
41
42
43
44
45
46
47
48
49
50
51
52
53
54
public void requestPermission() {
if (ContextCompat.checkSelfPermission(this,
android.Manifest.permission.WRITE_EXTERNAL_STORAGE)
!= PackageManager.PERMISSION_GRANTED) {

// Should we show an explanation?
if (ActivityCompat.shouldShowRequestPermissionRationale(this,
android.Manifest.permission.WRITE_EXTERNAL_STORAGE)) {

// Show an expanation to the user *asynchronously* -- don't block
// this thread waiting for the user's response! After the user
// sees the explanation, try again to request the permission.

} else {

// No explanation needed, we can request the permission.

ActivityCompat.requestPermissions(this,
new String[]{android.Manifest.permission.WRITE_EXTERNAL_STORAGE},
0);

// MY_PERMISSIONS_REQUEST_READ_CONTACTS is an
// app-defined int constant. The callback method gets the
// result of the request.
}
} else {
copyDatabase();
}
}

@Override
public void onRequestPermissionsResult(int requestCode,
String permissions[], int[] grantResults) {
switch (requestCode) {
case 0: {
// If request is cancelled, the result arrays are empty.
if (grantResults.length > 0
&& grantResults[0] == PackageManager.PERMISSION_GRANTED) {
copyDatabase();
// permission was granted, yay! Do the
// contacts-related task you need to do.

} else {

// permission denied, boo! Disable the
// functionality that depends on this permission.
}
return;
}

// other 'case' lines to check for other
// permissions this app might request
}
}

最后,将数据库拷贝到SDCard。

1
2
3
4
5
6
7
8
9
10
11
12
13
14
15
16
17
18
19
20
21
22
public void copyDatabase() {
String dbPath = "/data/data/<packageName>/databases/" + DatabaseName;
File file = new File(dbPath);
if (file.exists()) {
File dbCopy = new File(Environment.getExternalStorageDirectory().getAbsolutePath(), "copy.db");
try {
BufferedInputStream in = new BufferedInputStream(new FileInputStream(dbPath));
BufferedOutputStream out = new BufferedOutputStream(new FileOutputStream(dbCopy));
byte[] bb = new byte[1024];
int n;
while ((n = in.read(bb)) != -1) {
out.write(bb, 0, n);
}
out.close();
in.close();
} catch (FileNotFoundException e) {
e.printStackTrace();
} catch (IOException e) {
e.printStackTrace();
}
}
}

The Solution That the Menu Item of Navigation View Can't Change Its Background When It Is Selected/checked.

Posted on Jul 18 2016   |   In Android   |   3 Comments

Today, when I created a left navigation bar in android app, I met a strange issue. That was I couldn’t appoint a background color for the navigation item when it was selected. Like this:

It was annoying, I found many answers on the internet, but they all couldn’t fix my issue.

Most of answers said I should created a selector in drawable folder, like:

1
2
3
4
<selector xmlns:android="http://schemas.android.com/apk/res/android">
<item android:drawable="@color/primary" android:state_checked="true" />
<item android:drawable="@android:color/transparent" />
</selector>

and set NavigationView like:

1
app:itemBackground="@drawable/nav_view_item_background"

For me, it is not the correct answer. Though I set the state_checked is true and give it a drawable color, it seems the item is never checked.

For more search, I found the issue was happened with menu item.
The original menu file is:

1
2
3
4
5
6
7
8
9
10
<?xml version="1.0" encoding="utf-8"?>
<menu xmlns:android="http://schemas.android.com/apk/res/android">
<item android:title="主题" android:icon="@drawable/ic_dashboard_grey" android:id="@+id/theme" android:checked="true"/>
<item android:title="节点" android:icon="@drawable/ic_view_agenda_grey" android:id="@+id/node"/>
<item android:title="其他" android:id="@+id/other">
<menu>
<item android:title="关于" android:icon="@drawable/ic_info_grey" android:id="@+id/about"/>
</menu>
</item>
</menu>

Then I add a tag android:checkable=true to it:

1
2
3
4
5
6
7
8
9
10
11
12
13
<?xml version="1.0" encoding="utf-8"?>
<menu xmlns:android="http://schemas.android.com/apk/res/android">
<item android:title="主题" android:icon="@drawable/ic_dashboard_grey" android:id="@+id/theme" android:checked="true"
android:checkable="true"/>
<item android:title="节点" android:icon="@drawable/ic_view_agenda_grey" android:id="@+id/node"
android:checkable="true"/>
<item android:title="其他" android:id="@+id/other">
<menu>
<item android:title="关于" android:icon="@drawable/ic_info_grey" android:id="@+id/about"
android:checkable="true"/>
</menu>
</item>
</menu>

Now, the effect is normal.

增加Document Provider Extensions时遇到的问题

Posted on Mar 6 2016   |   In iOS   |   0 Comments

最近有个需求是在其他的应用中可以选择自己app中的文件,于是接触到了Document Provider Extensions,其实我所遇到的问题在其他Extensions中也可能会遇到,做个总结。

首先这里有几个名词,host app,UIDocumentPickerViewController,Document Provider Extensions,这些名词的关系如下图所示:

也就是说怎么显示Document Provider Extensions菜单,那是host app的事,我们能做的是在container app中开发这个Extension,它就会显示在这个菜单上。不论中间的过程怎样,最终我们只要通过这个Extension给host app回传一个文件URL,我们目标就完成了。

问题一,要不要创建File Provider Extension

突然蹦出的这个Extension是干嘛的?这个Extension是没有界面的,官方说法是它相当于Document Picker extension的后端。当你在xcode中选择创建Document Providertarget时,它会弹一个复选框让你选择要不要同时创建File Provider extension。那要不要同时创建呢?这个要看你的需求了,官方和raywenderlich的资料中都说的比较含糊,我自己的理解是,如果你要分享的数据在Document Picker extension里能拿到,而不是通过URL从container app中取的,那你就没有必要创建File Provider extension。在我这个需求中是不需要通过URL从container app中取数据的,所以我没有创建这个extension。那第二个问题来了。

问题二,Document Picker Extension怎样回传给host app 一个URL

这里的关键是UIDocumentPickerExtensionViewController中的dismissGrantingAccessToURL 方法。
官方的说法是:

Dismisses the document picker.

Call this method when the user selects a document or destination. This method dismisses the document picker view controller in the host app and triggers the appropriate file transfer. After the transfer is complete, the method passes the provided URL to the host app’s documentPicker:didPickDocumentAtURL: delegate method.

The URL must meet all of the following conditions:

  • Import Document Picker mode. Provide a URL for the selected file. The URL only needs to be accessible by the Document Picker View Controller extension.

…

也就是说只要把date写到Document Picker View Controller extension能访问的地方就行了,那刚好就用公共区域好了。

1
NSURL *containerURL = [fileManager containerURLForSecurityApplicationGroupIdentifier:@"group.xxx"];

第三个问题,啥是公共区。

这个公共区是你的extensions和container app都能访问的区域,在你的extensions和container app的target的配置中,你会配置一个App Groups,拥有相同App Groups的targets会有一个都可访问的公共区。那么第四个问题也来了。

第四个问题,extensions和container app共享的数据放在哪?

这个问题在第三个问题中已经回答了,但是恰好你用的是MagicalRecord,那么你可以把你的数据库创建在公共区域内,用来共享,相关代码是:

1
2
3
4
NSFileManager *fileManager = [NSFileManager defaultManager];
NSURL *containerURL = [fileManager containerURLForSecurityApplicationGroupIdentifier:@"group.xxx"];
NSURL *storeURL = [containerURL URLByAppendingPathComponent:[MagicalRecord defaultStoreName]];
[MagicalRecord setupCoreDataStackWithAutoMigratingSqliteStoreAtURL:storeURL];

如果你恰好也用了CocoaPads去管理你的第三方代码库,那么第五个问题也粗线了。

第五个问题,怎样用CocoaPads在你的container app和extensions 中共享第三方代码库?

在你的Podfile中加一行代码,然后pod install就解决了。

1
link_with 'Your container app', 'Your extension'

上面的代码不是很推荐,你也可以用下面的代码。

1
2
3
4
5
6
7
8
9
target 'Haystack_V2' do
pod 'MagicalRecord', '~> 2.3.0'
pod 'SVProgressHUD', '~> 1.1.3'
pod 'SwipeBack', '~> 1.0'
end
target 'Photo Search' do
pod 'MagicalRecord', '~> 2.3.0'
pod 'SwipeBack', '~> 1.0'
end

所以你也可能遇到第六个问题,如果你也想在extension中使用SVProgressHUD这个库的话。

第六个问题,在Extensions中使用SVProgressHUD库

请看下图:

好像就这些了。

Happy coding。

123…8
Changwei

Changwei

I develop iOS/Android apps with Swift/Kotlin language.

80 posts
33 categories
34 tags
GitHub Twitter Weibo Linkedin Upwork peopleperhour
Creative Commons
© 2011 - 2020 Changwei
Powered by Hexo
Theme - NexT.Muse