One friend ever asked me :”Are you planning to stay home during your best decade?”
I answer to him :”Why not? It is the best thing for me to stay with my family during my best decade.”
Spring is coming.
One friend ever asked me :”Are you planning to stay home during your best decade?”
I answer to him :”Why not? It is the best thing for me to stay with my family during my best decade.”
Spring is coming.
translatesAutoresizingMaskIntoConstraints = NO on the view since you will position and size it manually, anyway :)layoutSubviews (or viewDidLayoutSubviews if you want to do this in a view controller), call super (which performs the Auto Layout step) and then perform any manual layout we want to addLet us see the follow code:
1 | var mapView: MKMapView! |
As we all know, the mapView is a variable from Interface Builder, but why there is a ! behind the property, let’s analyze it.
Firstly, Let’s ask what is the meaning of ! behind of variable?
It means the variable is an optional type, further, it is an implicityly unwrapped optional which we don’t need unwrap and use directly.
Then, why we need an optional type here?
Because of a rule. We know the initializer function in Swift must initialize all of properties which are not optional type and Swift doesn’t “know” that Interface Builder is supplying the views at run time.
In your favorite editor make new text file and paste the following:
1 | #!/bin/bash |
Save it as ‘cloc’ [without extension] on same folder [/usr/local/bin]
screenshot: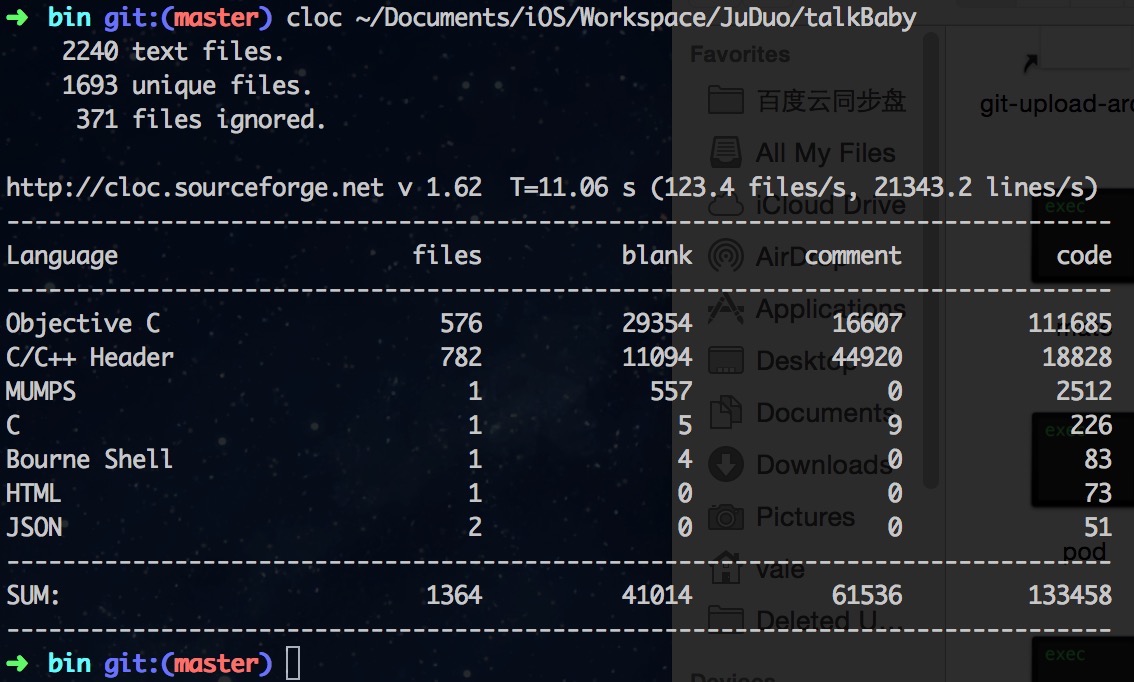
Refer to: http://me.syrex.me/2011/10/cloc-count-lines-of-code-on-mac.html
#Conform to the Protocol
First, on our model we conform to the MTLManagedObjectSerializing protocol. This has 2 required methods, but we’ll actually need to implement 3 methods.
1 | #pragma mark - MTLManagedObjectSerializing |
This is all we need to enable the feature for our models, including updating the records if they exist already.
#Serializing to Core Data
Given the we’ve converted from a JSON document to our model, we also want to convert that model into an NSManagedObject for saving. We can do this for each record by using the MTLManagedObjectAdapter class:
1 | [self fetchEpisodesWithCompletion:^(NSArray *episodes) { |
Refer to http://nsscreencast.com/episodes/120-mantle-with-core-data
Don’t hesitate any more, insist to do what you are good at, and do them better and better.
More and more projects are controlled by Git, then I start to use SourceTree as the Git GUI. So, many times, I like to open SourceTree first, not some forder, not Xcode. Now, there is a question on my table. After I open the SourceTree, I still need to cd to my xcode project forder, then open the .xcodepro or .xcodeworkspace file. It is boring, right?
So, I expect there is a way to simplify the workflow.
Now, it is coming.
1, created a small automator workflow. There are two workflow files I have written, you can download them in here

2, add Custom Actions on SourceTree.
Script to run: automator
Parameters: -D VariableName=$REPO /Path/To/Workflow.workflow

3, try it!

So, this is all.
Refer to: http://blog.sourcetreeapp.com/2012/02/08/custom-actions-more-power-to-you/
No time to write it clearly, I just post some code which helps me finish it.
1 | - (CGFloat)tableView:(UITableView *)tableView heightForRowAtIndexPath:(NSIndexPath *)indexPath { |
Notice that: this is “sizingCell.contentView”, not “sizingCell”.
constraint to margins.
lines to 0.explicit.
Done! The effect is that the UIlabel named sizingCell.contentLabel will resize by text’s length, and the UITableViewCell will resize by the UILabel.
Refer to:
Dynamic Table View Cell Height and Auto Layout

During a long time, I am thinking which programming language I want to learn on next step, Ruby or javascript, Android or Swift, and many times I can’t make a decision. Ruby looks like very cool, but it is far from the region I contribute to, Android is near with the region, but sometimes I think it is boring.
Now, I don’t want to waste my time any more. So I decide to do the following things next step:
And then, Focus on mobile developing.
Some days ago, I updated my Macbook Pro’s OS to 10.10, then I changed the default Ruby version to other verson rather than the system default version. Today, when I used the pod install to install some third libraries, I found the followed error:
1 | -bash: /usr/local/bin/pod: /usr/local/Cellar/ruby/2.1.2_3/bin/ruby: bad interpreter: No such file or directory |
Then I knew that the pod command used wrong ruby version.
Try many ways, but I still can’t solve it. Then I opened the cocoaPods Guides and found the followed text:
CocoaPods is built with Ruby and it will be installable with the default Ruby available on OS X. You can use a Ruby Version manager, however we recommend that you use the standard Ruby available on OS X unless you know what you're doing.
Ok, I am sorry for seeing the text too late. But now, how should I do? I have no idea. Maybe I can see what it is in the pod file.
Then I run which pod on the terminal.
1 | shunzhu:~ vale$ which pod |
Then run mate /usr/local/bin/pod:
1 | #!/usr/local/Cellar/ruby/2.1.2_3/bin/ruby |
Maybe I find something, the code in the first line, it is very similar with the error hint:
1 | -bash: /usr/local/bin/pod: /usr/local/Cellar/ruby/2.1.2_3/bin/ruby: bad interpreter: No such file or directory |
Ok, let me change the first line code to this #!/usr/bin/ruby
Try pod again:
1 | shunzhu:~ vale$ pod |
Until here, I think I have solved the issue. Thanks God!!!